Professional Screen Replacement Guide
Master the techniques for replacing damaged smartphone screens safely. Learn step-by-step procedures used by professional technicians across Poland, from diagnosis to final calibration.
Understanding Modern Display Technologies
Before beginning any screen replacement procedure, professionals must understand the different display technologies used in contemporary smartphones. This knowledge ensures proper handling and installation of the correct replacement component for each device model.
Today’s smartphone market primarily features AMOLED and LCD technologies, each requiring distinct replacement approaches and handling precautions. AMOLED displays use organic light-emitting diodes, making them more fragile during installation but offering superior color reproduction and contrast ratios. LCD displays, while more durable, require precise pressure distribution during the bonding process.
- AMOLED Technology: Flexible glass layers, susceptible to pressure damage during installation, requires specialized heating equipment and vacuum application techniques
- IPS LCD Technology: Rigid glass substrate, more forgiving during removal but demands accurate adhesive application for waterproofing integrity
- Foldable Displays: Emerging technology requiring ultra-precise alignment and specialized heating protocols to prevent internal layer separation
- Screen Protectors: Modern devices often include tempered glass protectors that must be removed before accessing the actual display assembly
Pre-Replacement Diagnostics and Preparation
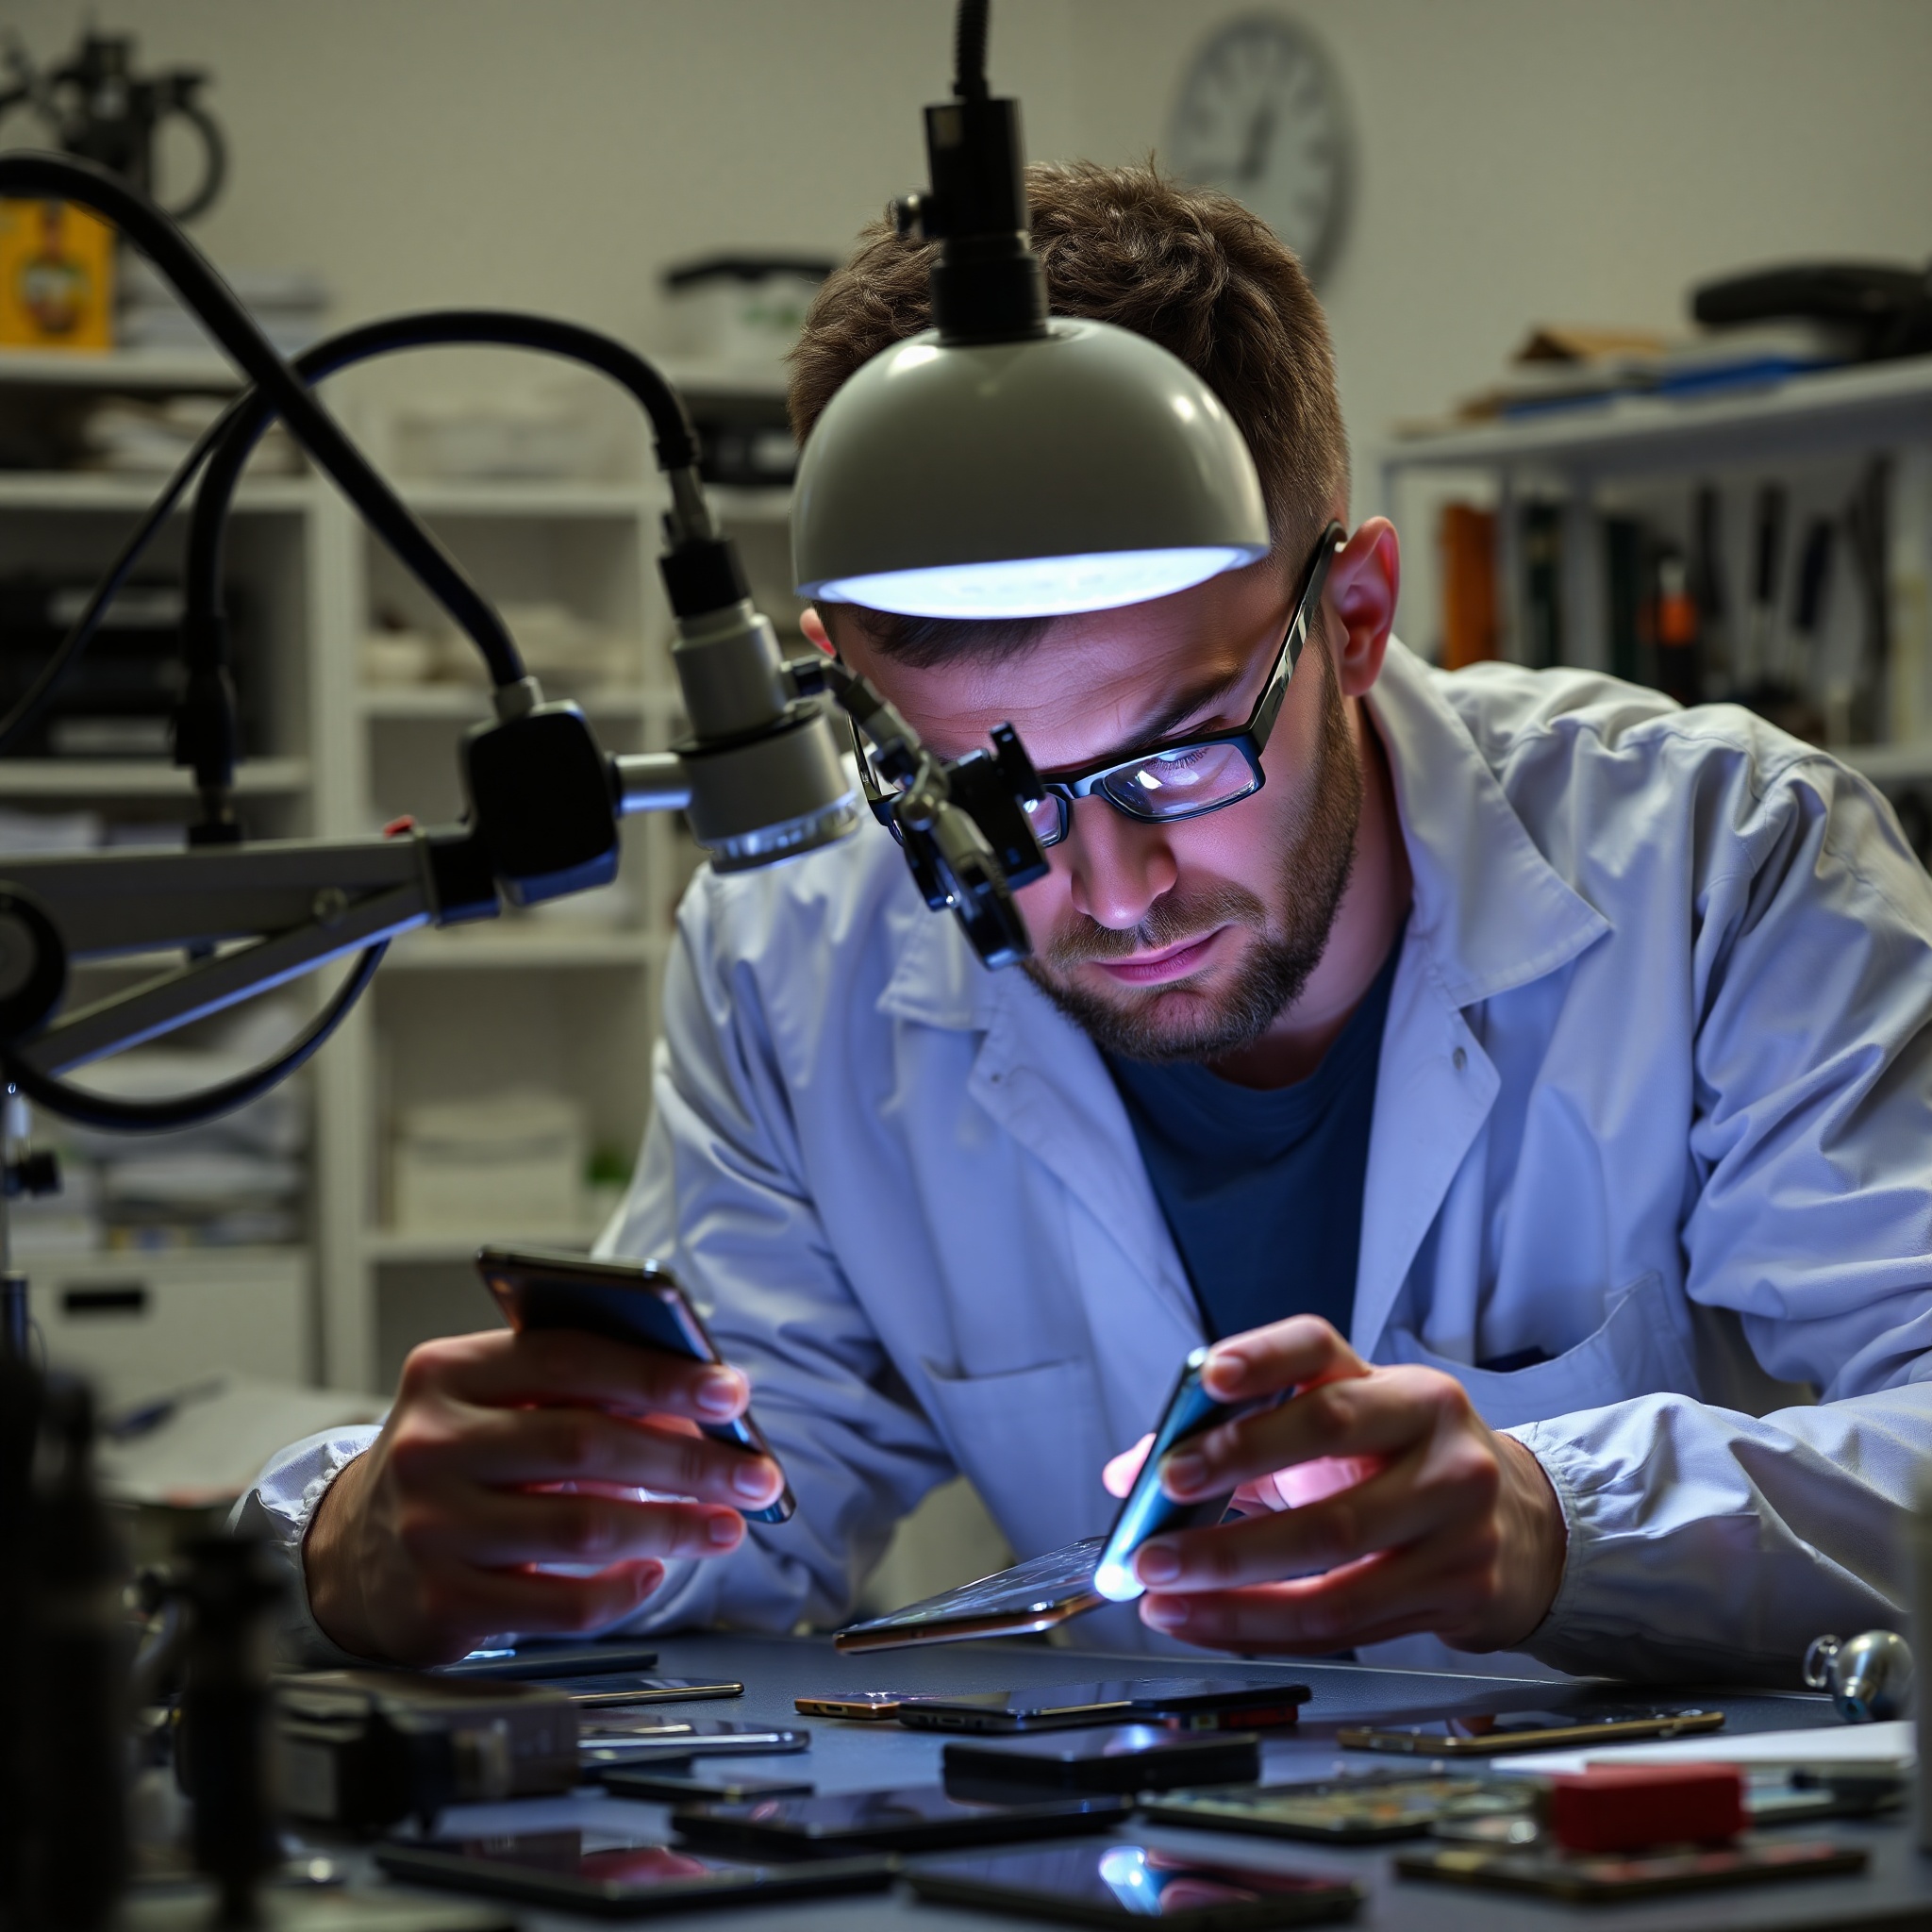
Successful screen replacement begins with comprehensive pre-service diagnostics. This critical phase prevents unnecessary component replacement and identifies secondary damage that might affect installation success.
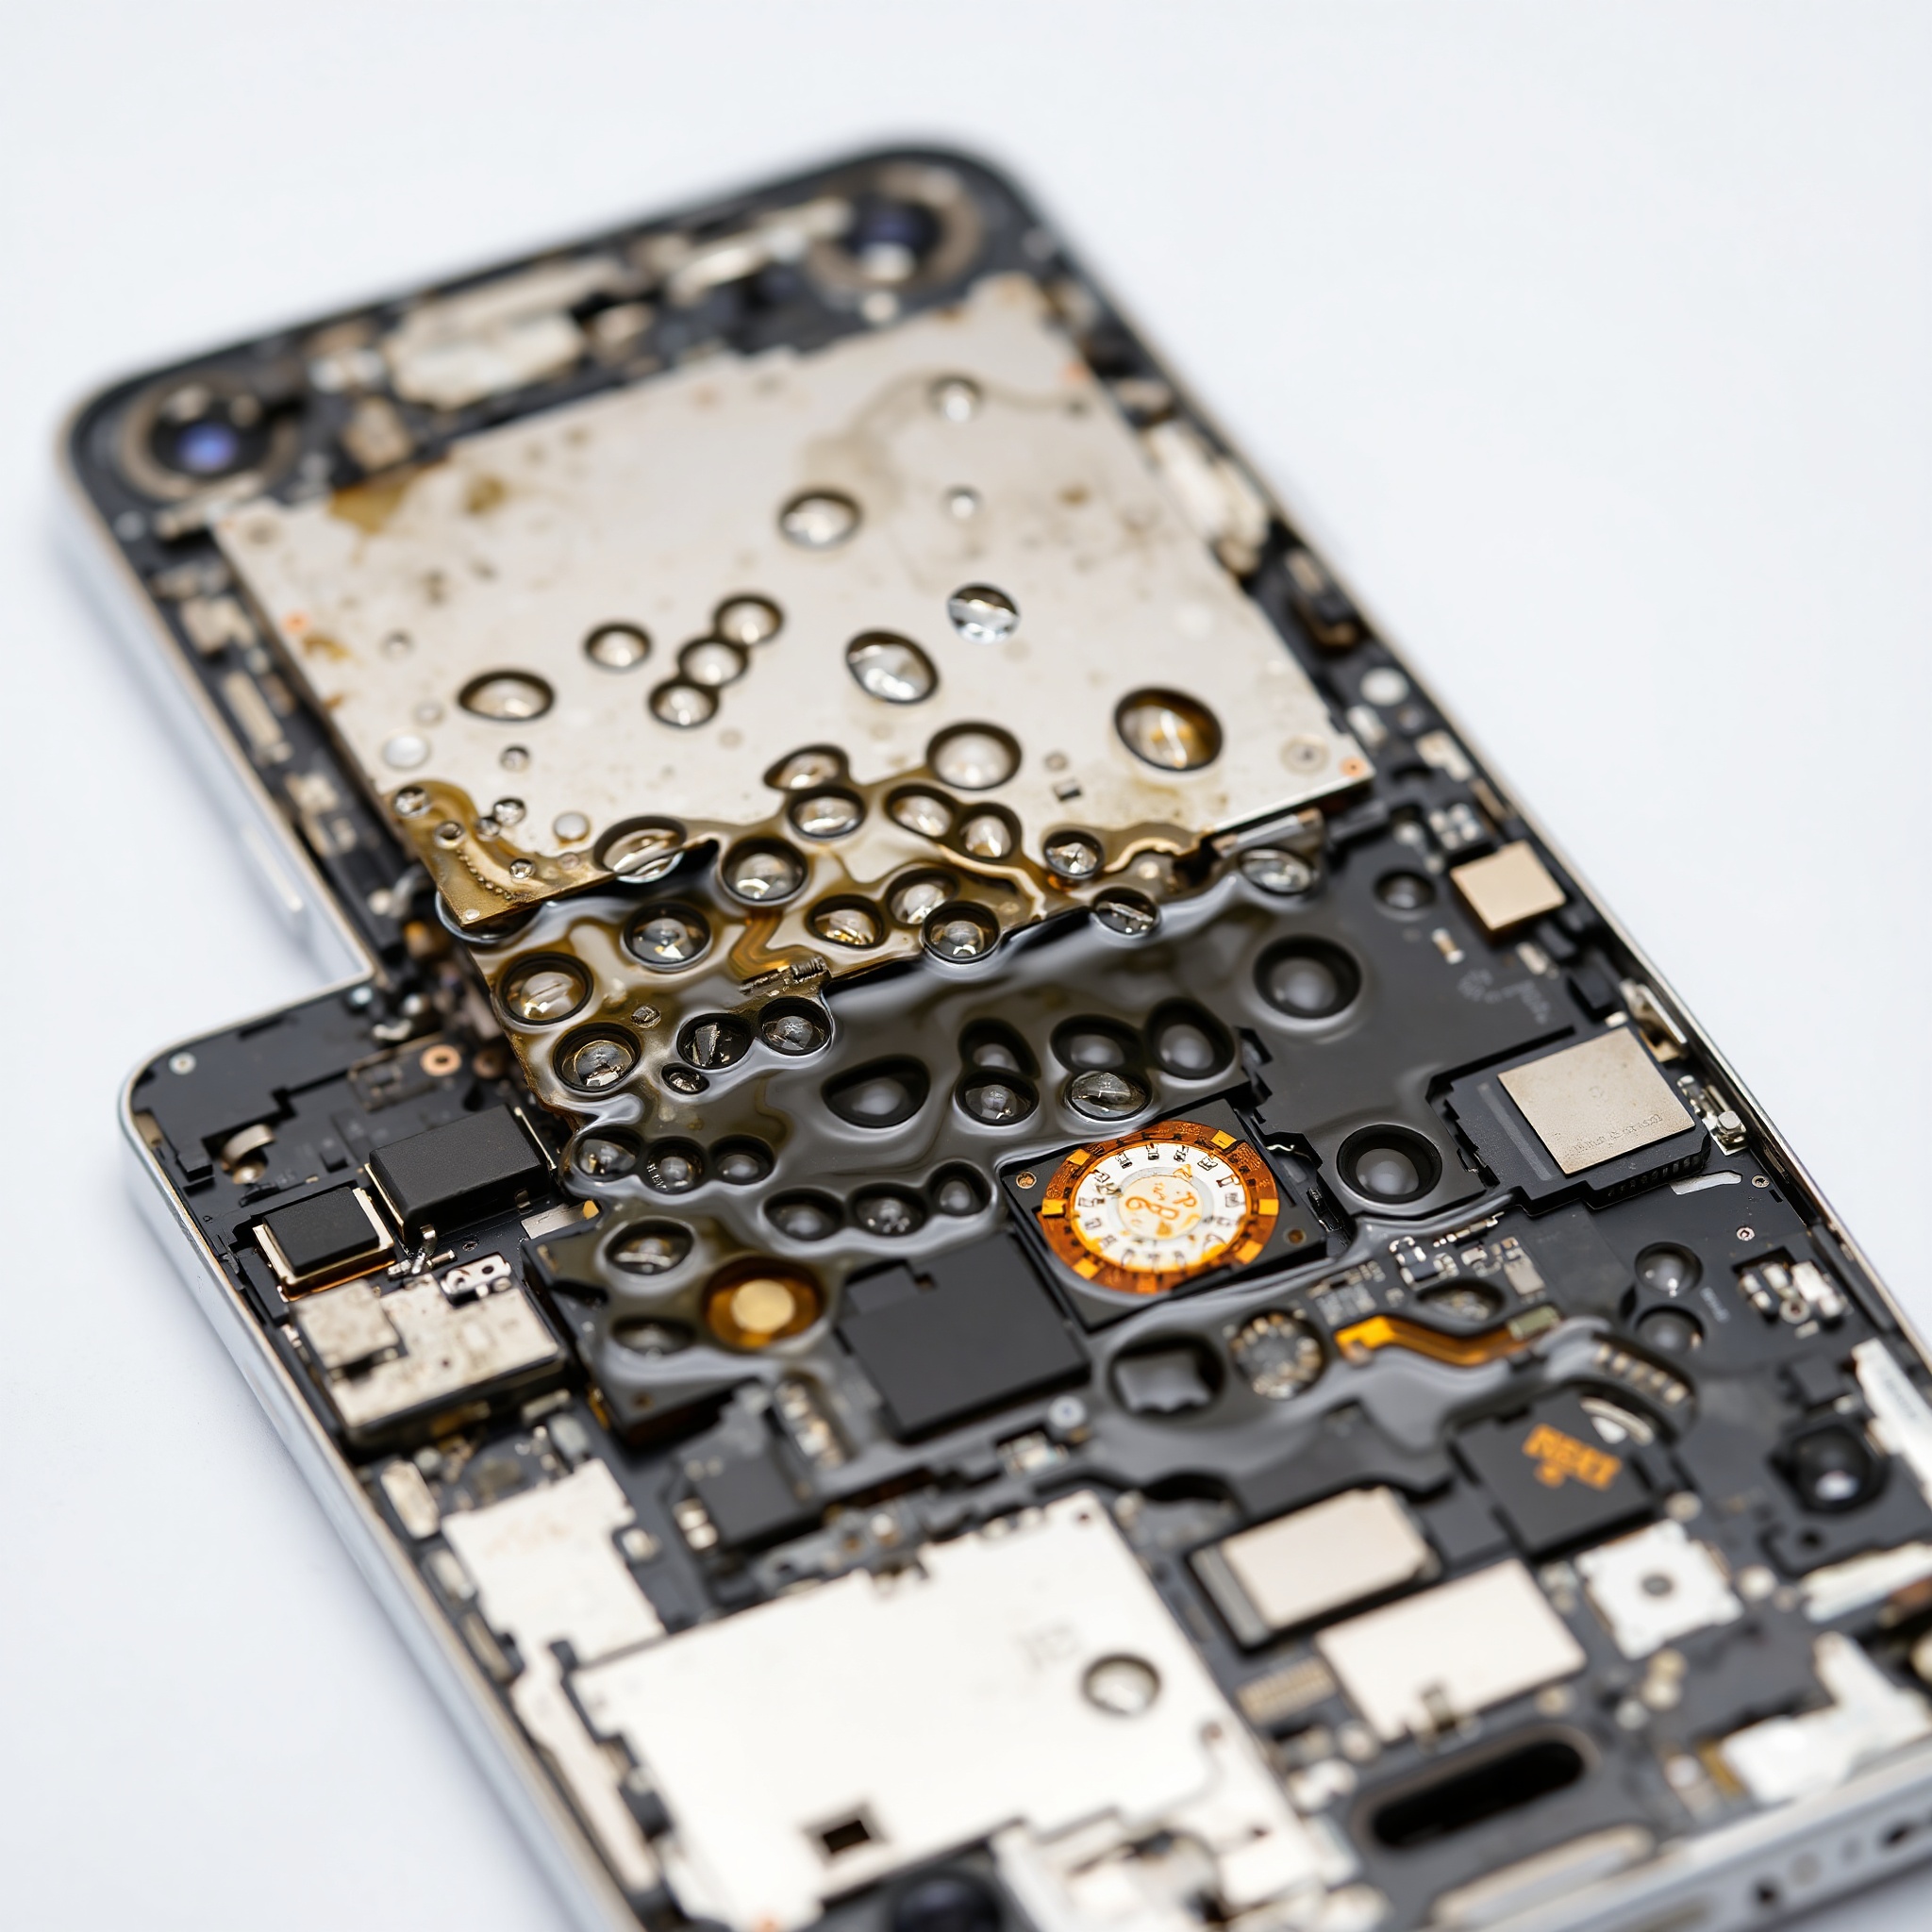
Professional technicians conduct systematic testing before any physical work begins. This includes evaluating touch responsiveness, color accuracy, brightness levels, and checking for liquid damage indicators. Modern smartphones often contain liquid damage sensors that change color upon moisture exposure, providing valuable information about the device’s history.
Critical Pre-Service Checklist
Always document the device condition with photographs, test all functionality, verify the device powers on, check battery health, and confirm the correct replacement part matches the exact model variant including regional specifications.
During preparation, ensure your workspace maintains proper temperature (18-25C) and humidity levels (40-60%). Temperature fluctuations affect adhesive properties and can compromise the waterproof seal. Additionally, static electricity poses a significant risk to modern smartphone components. Proper grounding equipment prevents costly damage to sensitive circuitry.
The Professional Replacement Process
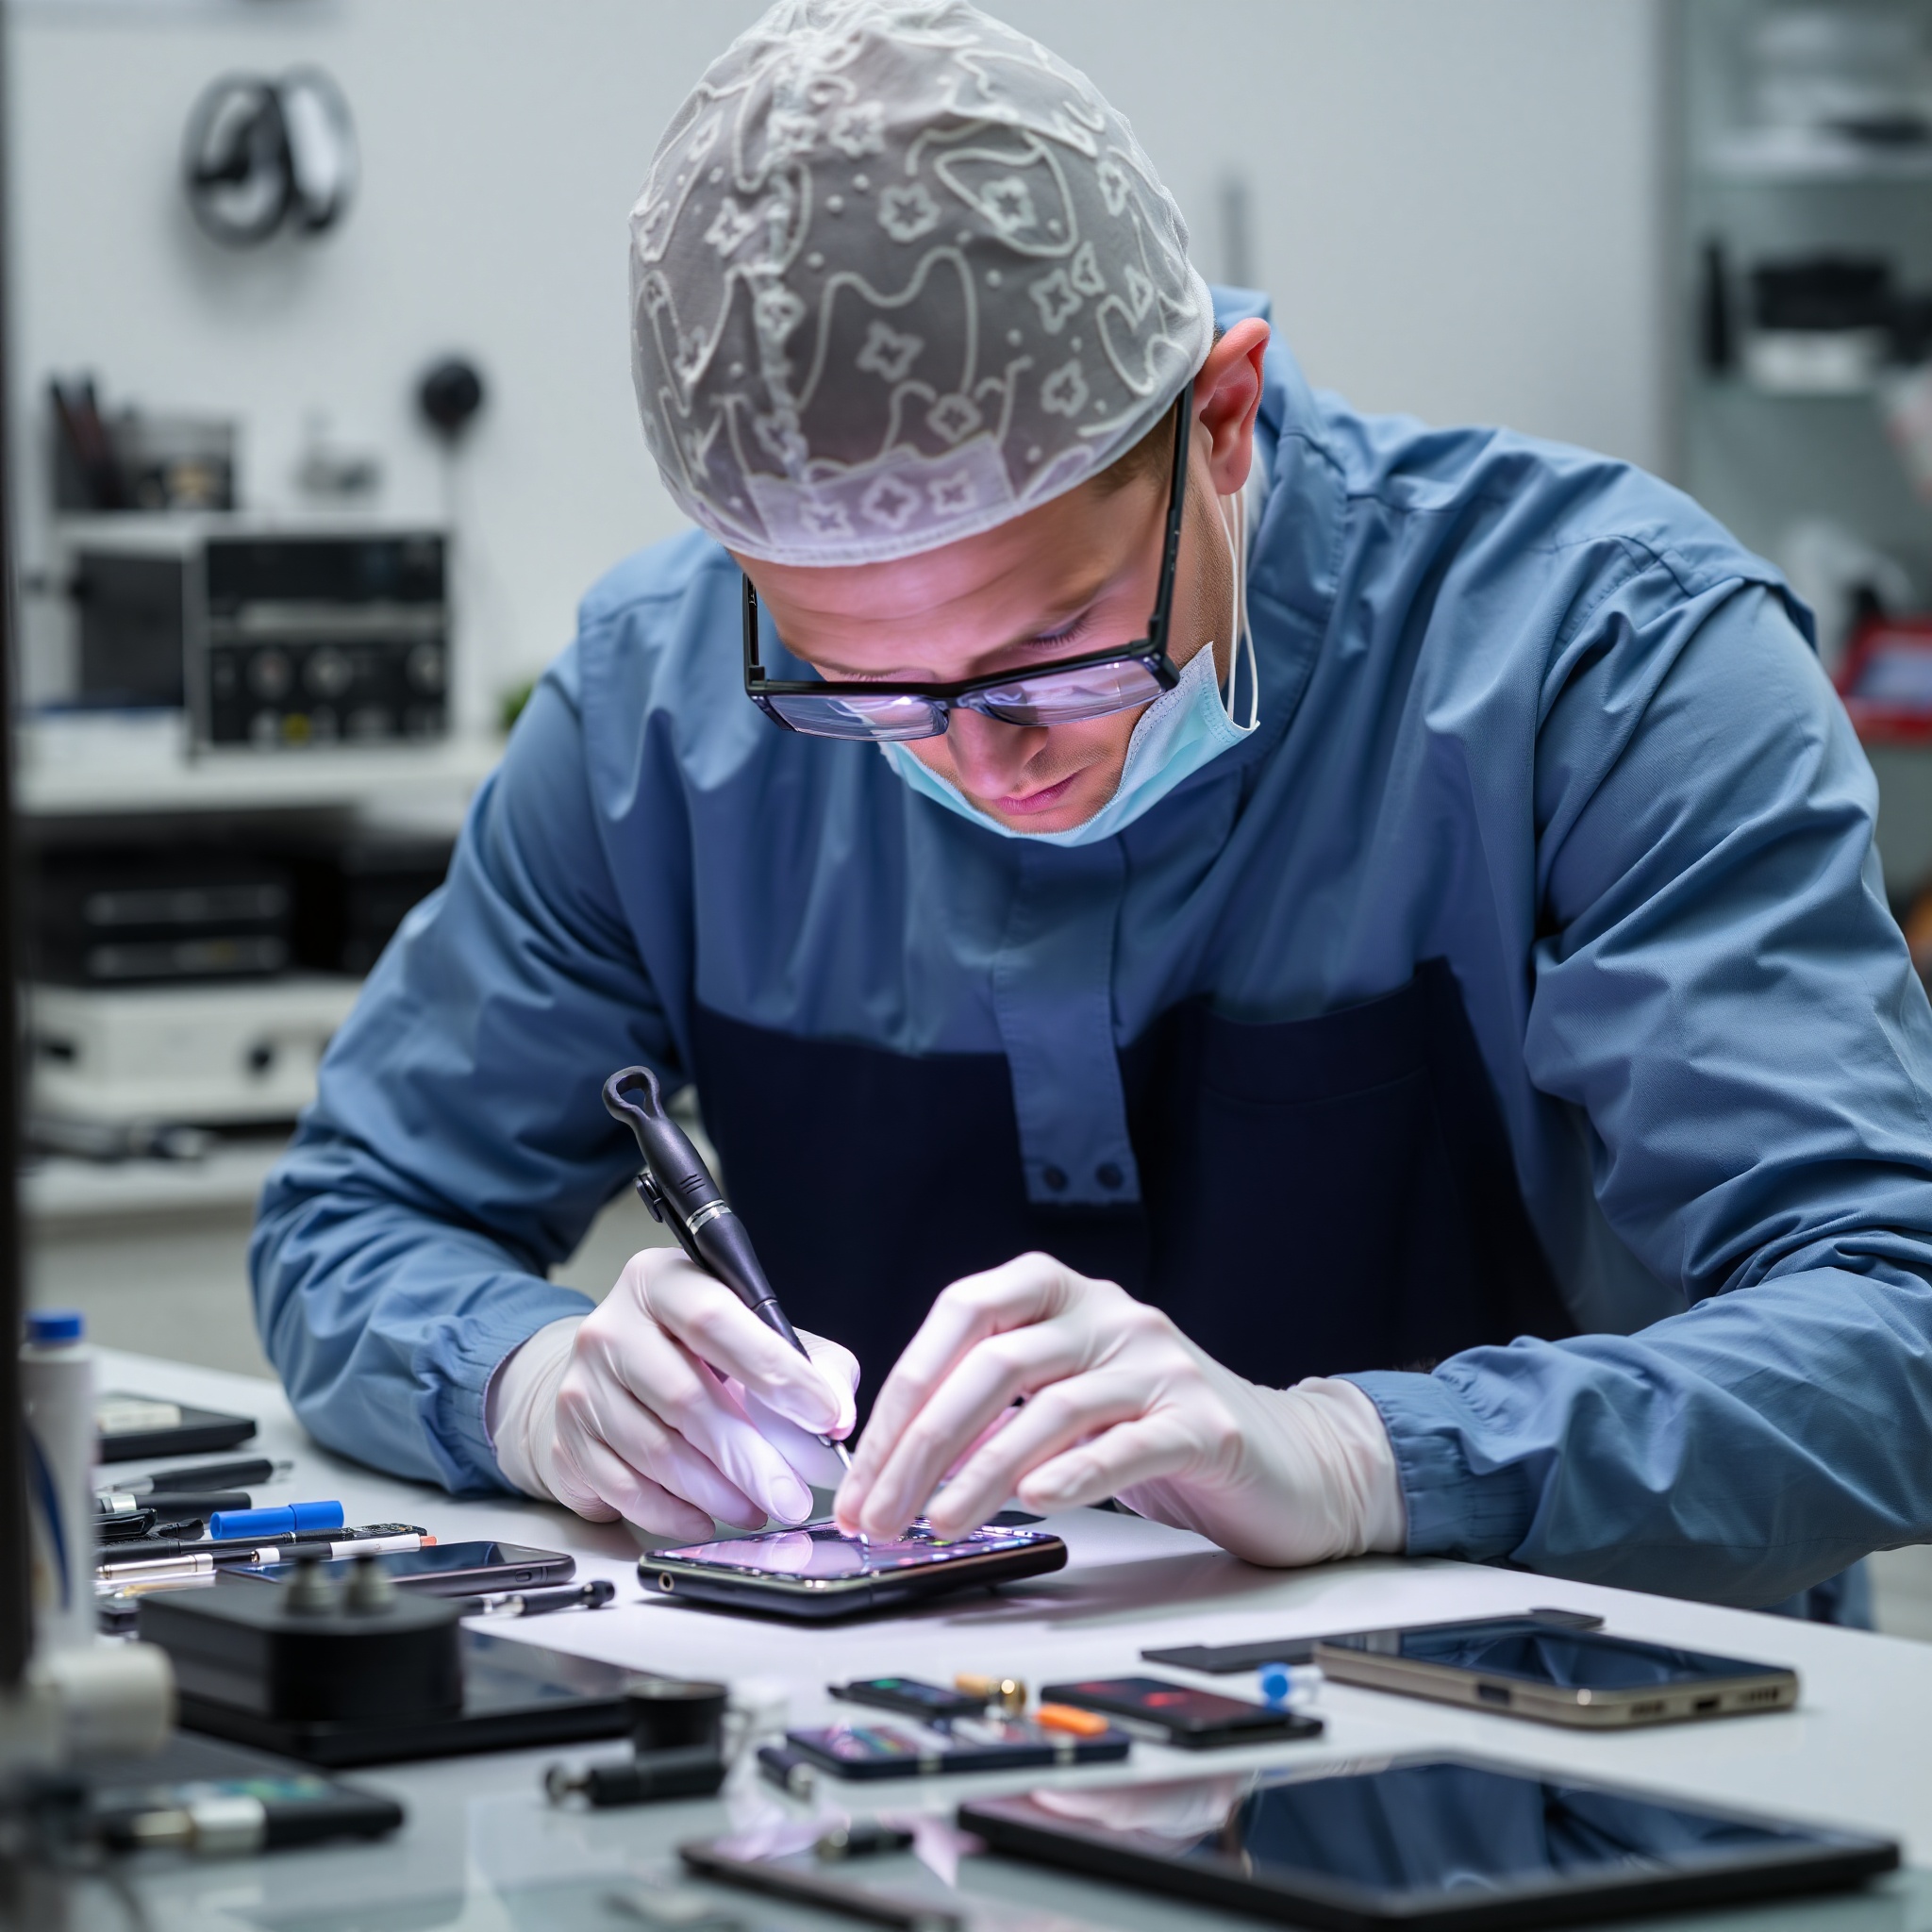
The actual replacement procedure requires precision, patience, and adherence to manufacturer specifications. This section details the proven methodology employed by certified technicians throughout Poland’s repair service industry.
Power Down and Discharge Static
Completely power off the device and ground yourself using an anti-static wrist strap connected to your workbench. Remove the SIM card tray if accessible. Place the device on an anti-static mat and allow 5 minutes for any residual charge to dissipate. This prevents component damage during the replacement process.
Apply Heat to Soften Adhesive
Use a heat gun or specialized heating mat set to 60-70C for LCD displays or 50-60C for AMOLED screens. Maintain consistent heat distribution across the entire display for 3-5 minutes. Overheating can damage internal components or the battery, so use a temperature sensor to monitor surface temperature continuously.
Carefully Remove the Display Assembly
Starting from one corner, insert a plastic pry tool beneath the screen edge. Work slowly and methodically around the perimeter, applying consistent upward pressure. Avoid sudden jerking motions that can shatter the glass or damage internal ribbon cables. For AMOLED displays, exercise extreme caution as the flexible construction makes them particularly vulnerable.
Disconnect and Remove Ribbon Cables
Once the display is sufficiently lifted, carefully disconnect the LCD ribbon cable and any secondary connectors. Note the connector orientation and document cable routing with photographs. Remove any metal shielding plates covering the connections, marking their exact position for reassembly.
Clean the Frame and Apply Adhesive
Remove all old adhesive residue using specialized adhesive remover or isopropyl alcohol. Clean the frame meticulously to ensure proper sealing. Apply new adhesive strips around the frame perimeter, maintaining consistent width and ensuring complete coverage without excessive buildup that could affect water resistance.
Install the New Display
Carefully position the new screen assembly, reconnecting all ribbon cables first. Align the display precisely with the frame edges and apply firm, even pressure across the entire surface. For AMOLED displays, use a vacuum press to ensure uniform contact. Allow adhesive to cure for the recommended time before applying any pressure to the device.
Test and Calibrate the Display
Power on the device and test all display functions: touch responsiveness, color accuracy, brightness levels, and sensor functionality. Run diagnostic software to verify proper communication between the display and motherboard. Check for light bleeding, dead pixels, or color abnormalities. Perform a water resistance test if the device supports it.
Professional Tips and Common Troubleshooting
Experience separates adequate technicians from professionals. This section shares industry-proven tips that ensure superior results and satisfied customers.
Temperature Control
Maintain workspace temperature between 18-25C. Temperature extremes affect adhesive viscosity and curing time. Cold environments cause adhesive to become too thick, creating air bubbles during installation. Warm environments may cause premature curing, preventing proper bonding.
Waterproofing Integrity
Proper adhesive application directly impacts water resistance ratings. Use manufacturer-specified adhesive strips and apply them with consistent pressure. Ensure no adhesive gaps exist around the frame perimeter. Poor sealing compromises the IP rating and voids warranty coverage for water damage.
Inspection Protocols
Always inspect replacement displays before installation. Check for factory defects, dead pixels, or physical damage. Verify the part number matches exactly, including revision codes. Many technicians photograph the original device condition to prove pre-existing damage versus service-related issues.
Static Electricity Prevention
Static discharge causes permanent component failure. Always wear grounded wrist straps, use anti-static mats, and maintain proper humidity levels. Keep replacement parts in anti-static packaging until installation. Avoid touching exposed connectors or circuits unnecessarily.
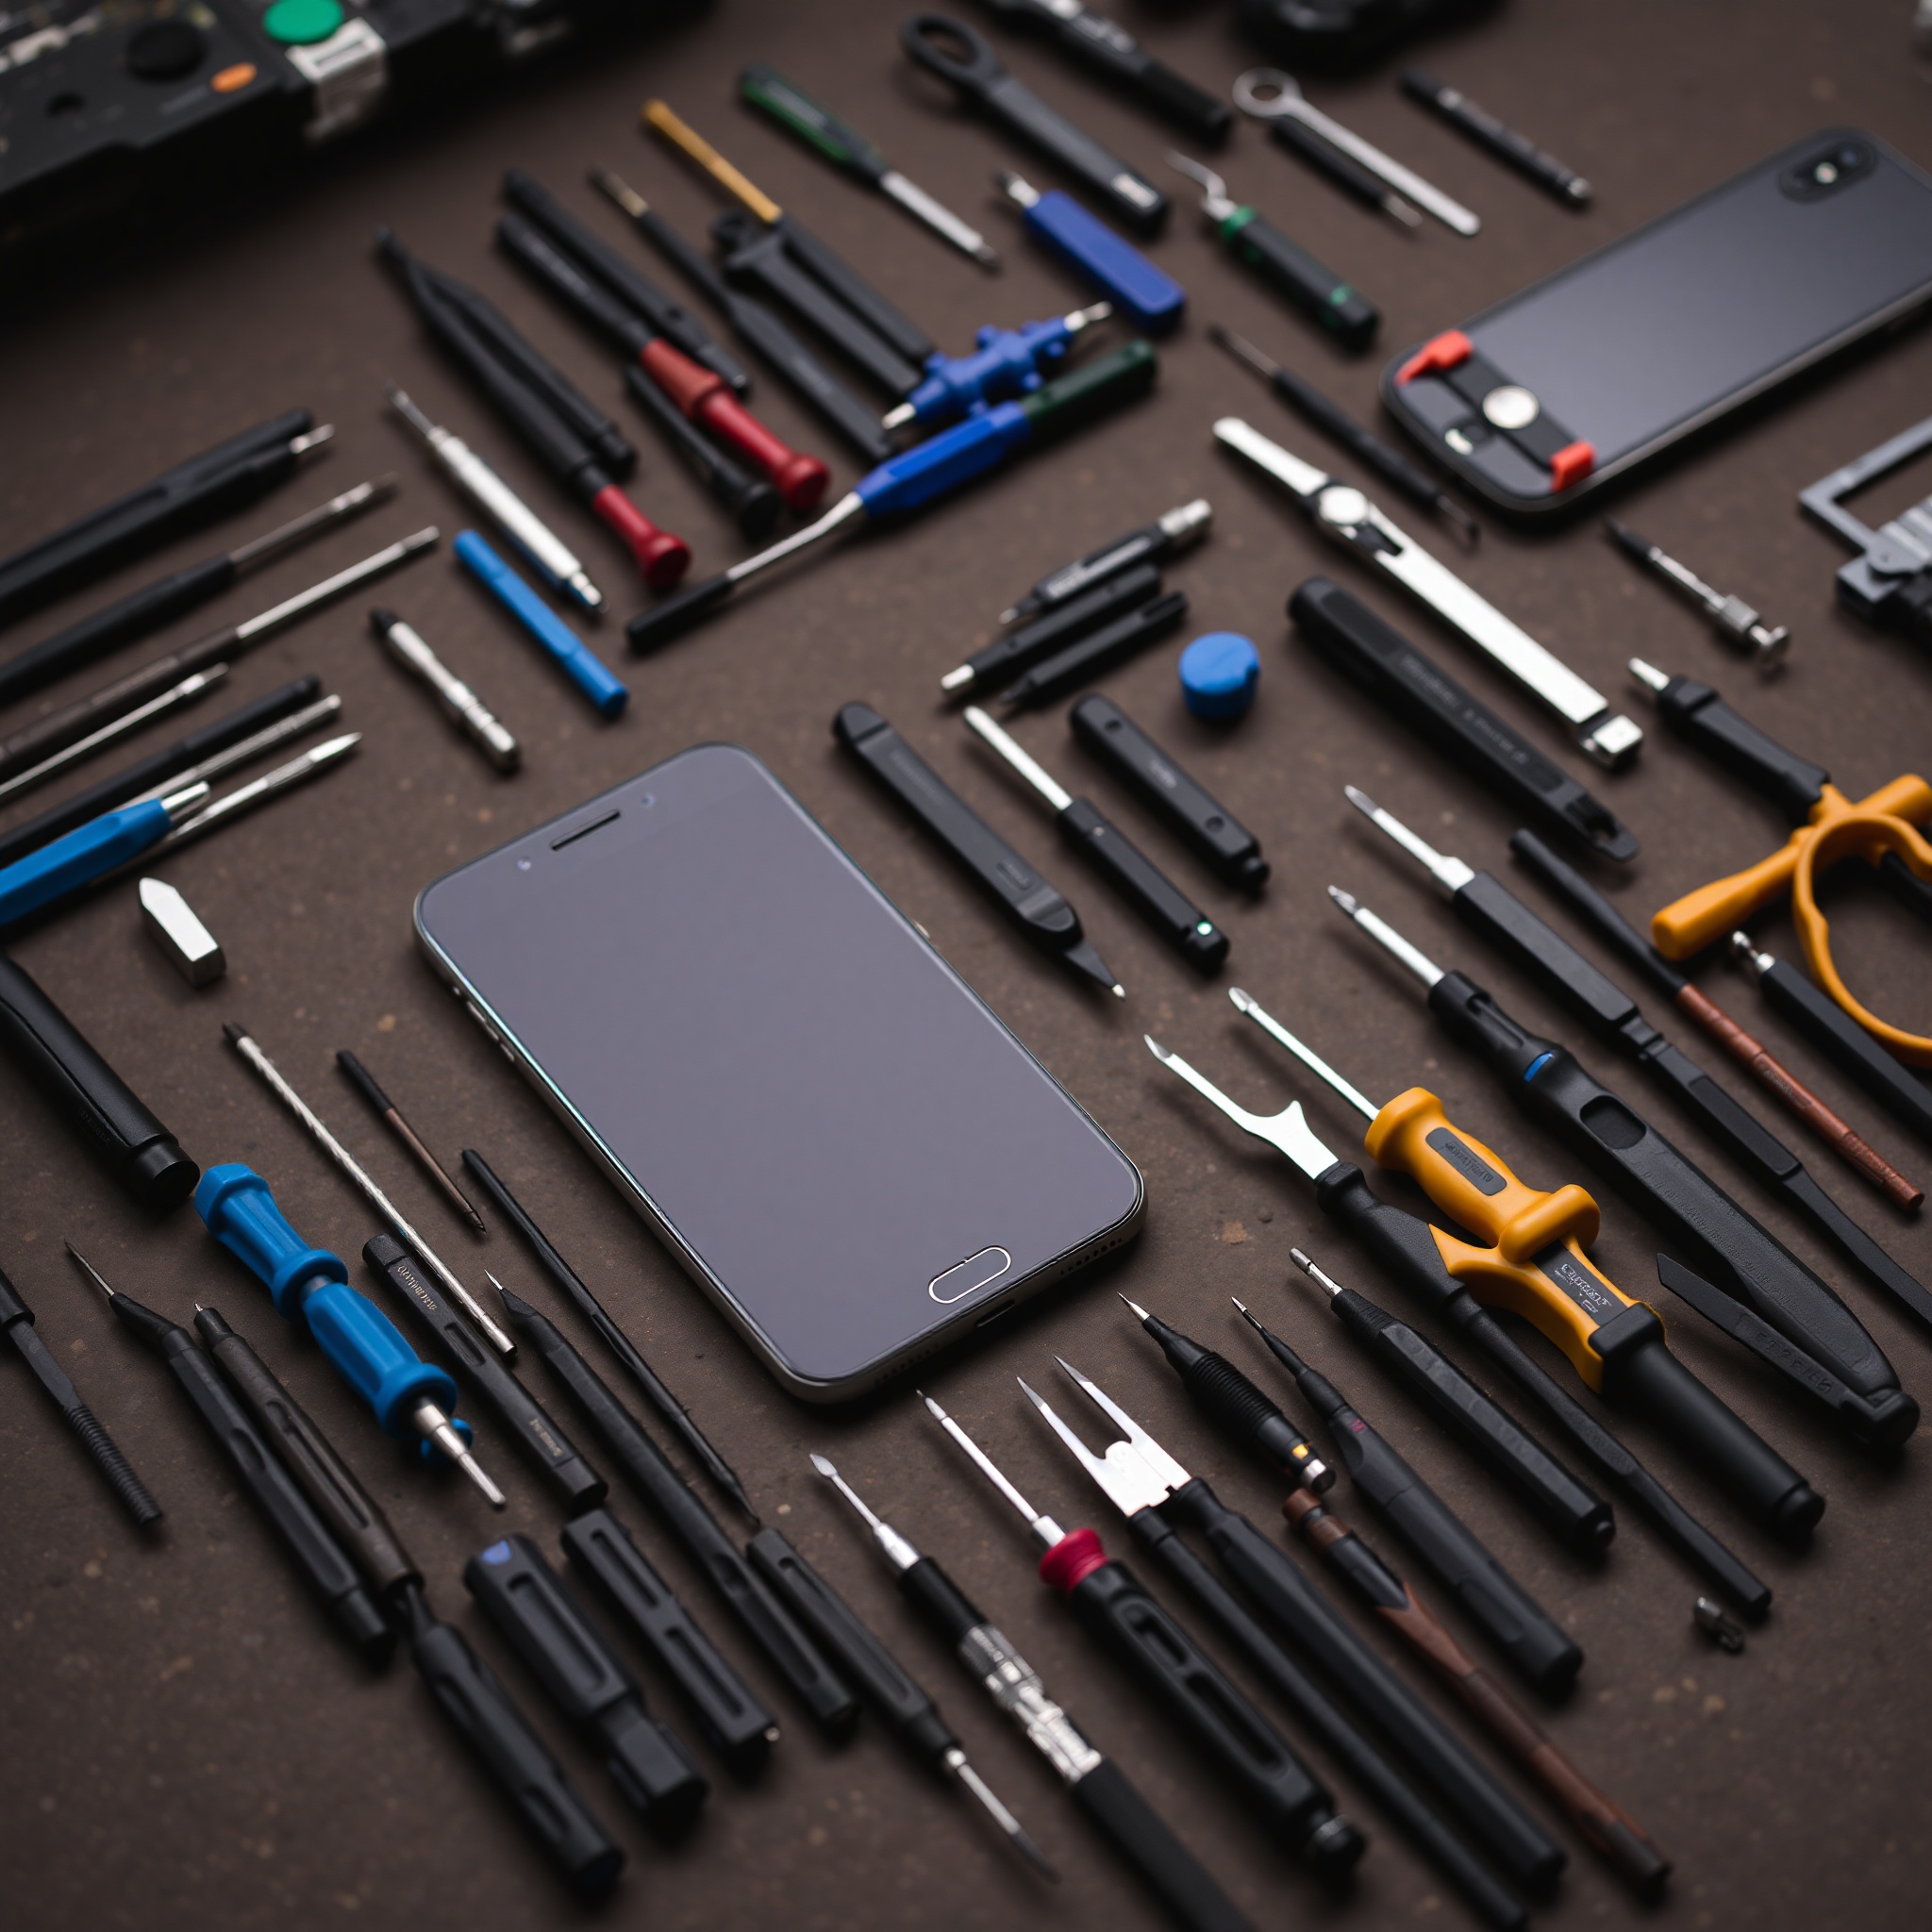
Specialized Equipment
Professional results require professional tools. Invest in quality heating equipment, precision screwdrivers, vacuum presses for AMOLED displays, and diagnostic software. Cheap tools damage components and reduce efficiency. Quality equipment pays for itself through improved success rates and customer satisfaction.
Documentation
Maintain detailed service records including pre-service condition photos, replacement part details, installation date, and post-service testing results. Document any anomalies discovered during disassembly. This protects both technician and customer by providing clear evidence of work performed and device condition.
Master Your Craft
Professional screen replacement combines technical knowledge, specialized equipment, and meticulous attention to detail. By following these comprehensive procedures and implementing proven professional techniques, you’ll achieve superior results that satisfy demanding customers and build a reputation for excellence in Poland’s competitive repair service market.